
With the Weather element, you can display the current weather of a location in your content.
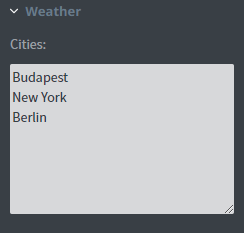 In the Weather menu, you can select the cities that you want to display in your element by typing their names into the textbox.
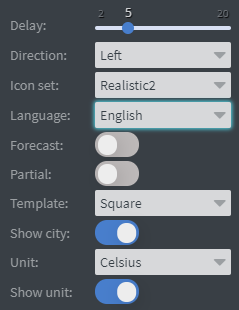 If you want to display the weather of multiple cities you can set the Delay between them.
You can set the Direction of the animation between displayed cities here.
You can set the displayed weather icon type with the Icon set function.
You can choose the Language of the element to display data in different languages.
In the Unit selector, you can choose to display the temperature in Celsius or Fahrenheit.
You can turn off the Show unit behind the temperature data here.
You can also turn off the Show city function.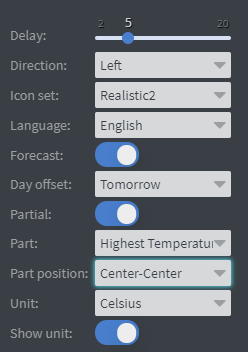 If you enable the Forecast function you can select which following day the element should display in the Day offset selector.
You can select from ‘Today’ to ‘+9 days’. If you enable the Partial function you can choose one thing you want to display in the element.
You can choose to only display the Temperature or just the City or the Icon etc.
You can select an alignment on this one piece of information in the Part position.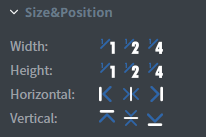 In the Size&Position menu, you can select the width, the height, and the placement of your element quickly.
Click here for more information about using size and position.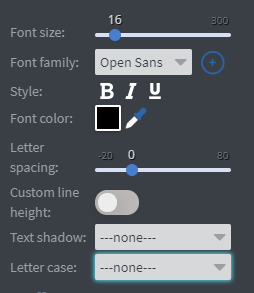 In the Font menu, you can set the Font size, the Font family, the Style, and the Font colour.
You can also set Letter spacing, Custom line height, Text shadow and Letter case to your element here.
Click here for more information about using fonts.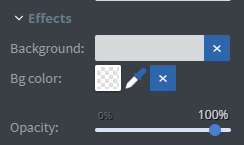 In the Effects menu, you can select a background image or colour for your element.
You can also set the Opacity of the element here.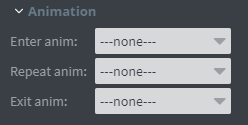 In the Animation Menu, you can choose the Enter, Repeat and Exit animations of your element.
Click here for more information about using animations.
