IMPORTANT – If you are using Smart Pass, please make a backup of your Face Database (Users) from Smart Pass. Your database will be migrated but you should make a backup first, in case of any unexpected errors.
Your logs will not be migrated, so please export them from the kiosk before migrating.
Downloading the VisiPoint software
To download the VisiPoint platform:
- copy the software apk file provided onto a USB flash drive (please contact our support team for the latest version)
- insert the USB flash drive into the kiosk
- on the kiosk navigate to the kiosk menu then select explorer > USB > select the VisiPoint apk file
Once the installation is complete, you will be presented with the VisiPoint Registration screen.
Migration steps
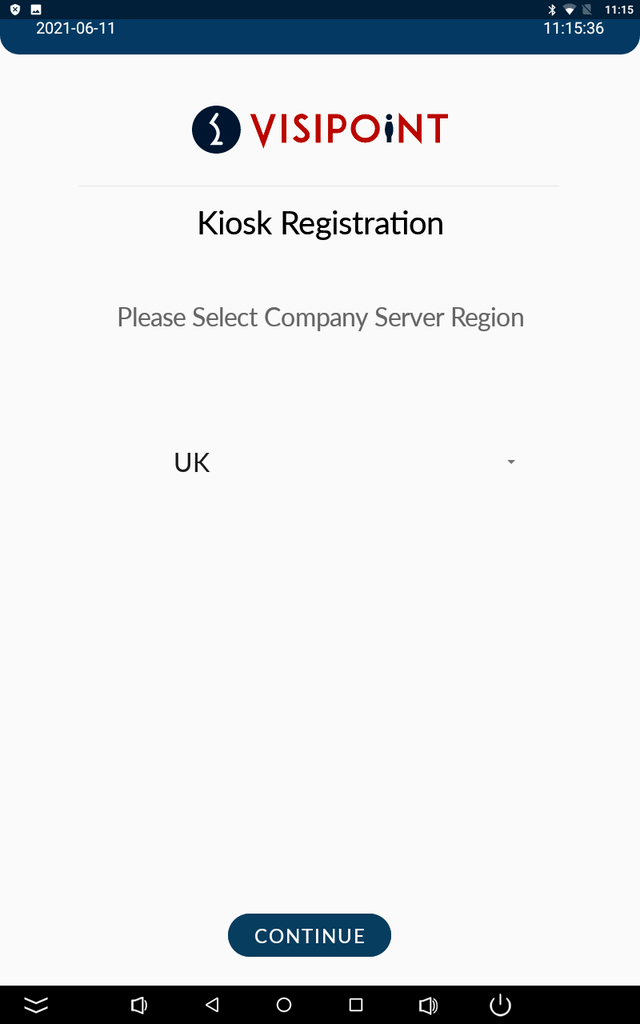
When setting up your kiosks for the first time you will be taken through the process of setting up a VisiPoint account and registering your kiosk. When the application opens you will see the screen below.
The first thing you will need to do is choose your company server region from the drop-down menu. This is the region where your data will be stored.
Then it will take you to this page:
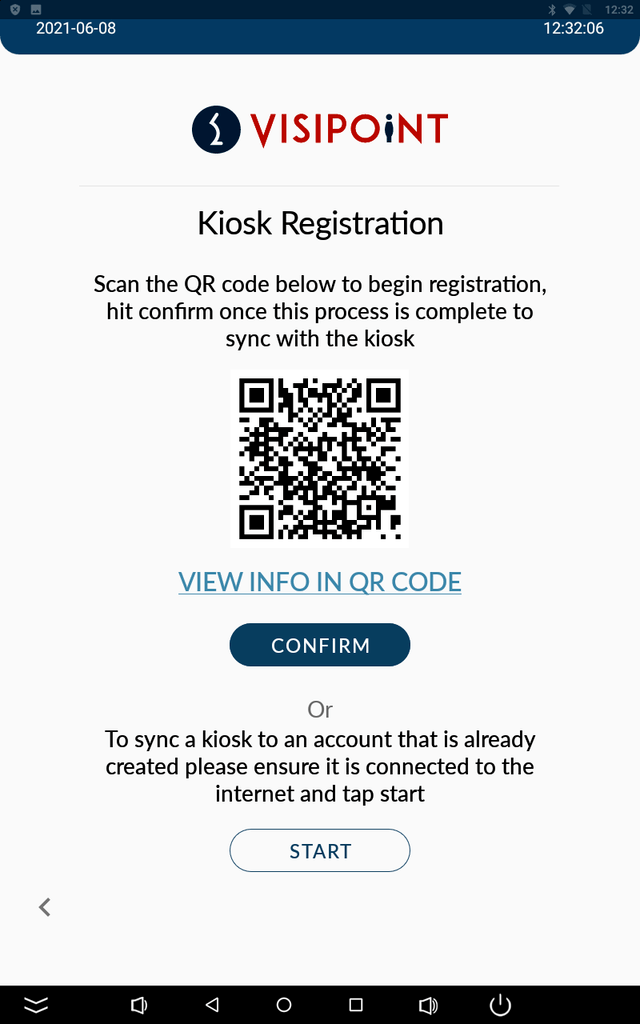
Scan the QR code with the camera on your mobile device and it will take you directly to the web portal to register.
Alternatively you can click on ‘View Info In QR Code’. This will give you the URL for the web portal which you can type into a web browser on your mobile or computer.
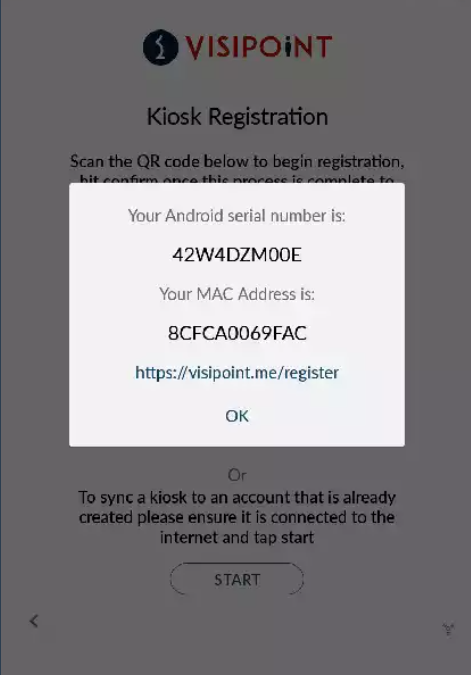
When you are taken to the web portal you will see the screen below. Please follow the steps to create your VisiPoint account and link your kiosk. You will be asked to input the Android serial number and MAC address on the last page of the registration in the web portal.
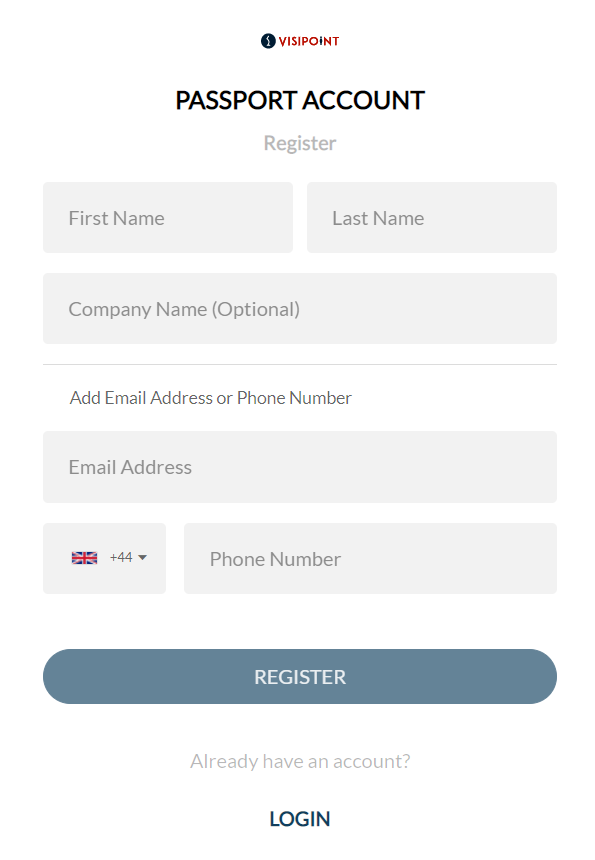
Once you complete all the steps and register successfully you will be taken to your VisiPoint dashboard, where you can see the kiosks registered to your account.
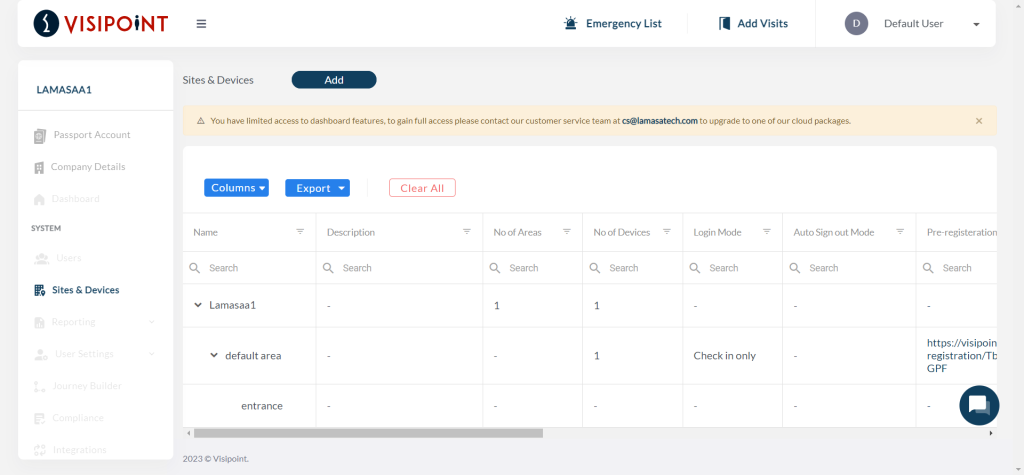
With a standalone account, you can only see the kiosks you have registered. To utilise the other functions of the dashboard, such as group your kiosks into areas, import user lists and view your logs remotely, you will need to upgrade to a cloud account.
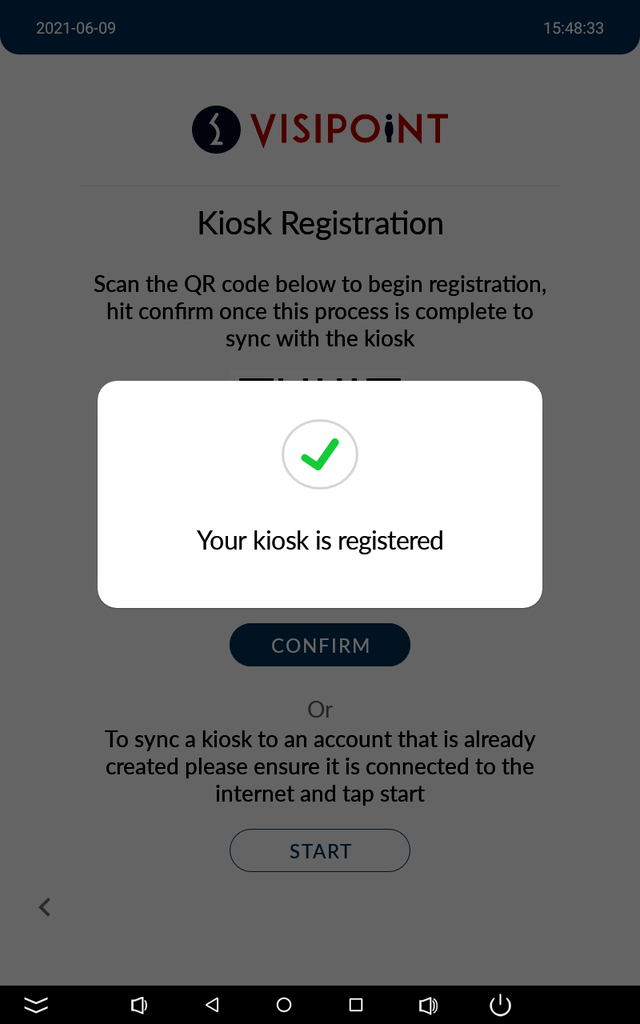
To complete the process, please go back to your kiosk and click the blue confirm button under the QR code. You will see a success message to let you know that the kiosk is registered successfully.
You will then see the screen below which confirms the migration. Please click Continue.
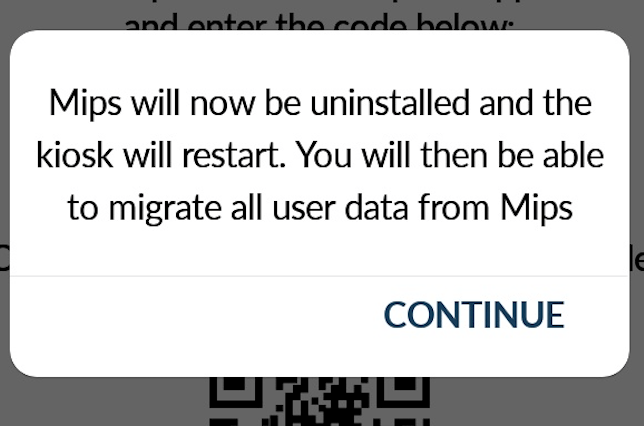
The kiosk will reboot.
Then the VisiPoint application will open on the administration page and show the following message. Please click Yes.
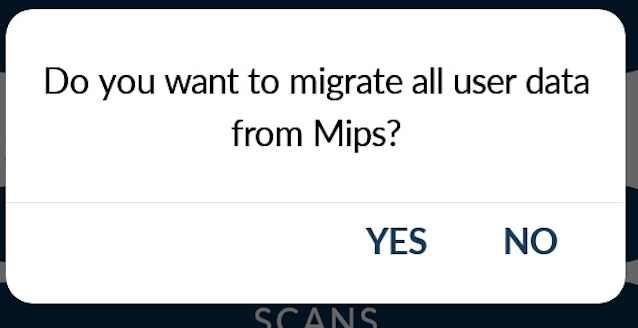
Once the migration is complete, you will be taken back to the Administration page in the VisiPoint application.
To upgrade to a cloud subscription, please contact your account manager at LamasaTech or speak to our team using the live chat bubble on the right of your screen.